
Starting a Vegetable Patch From Scratch: A Full Season Walkthrough
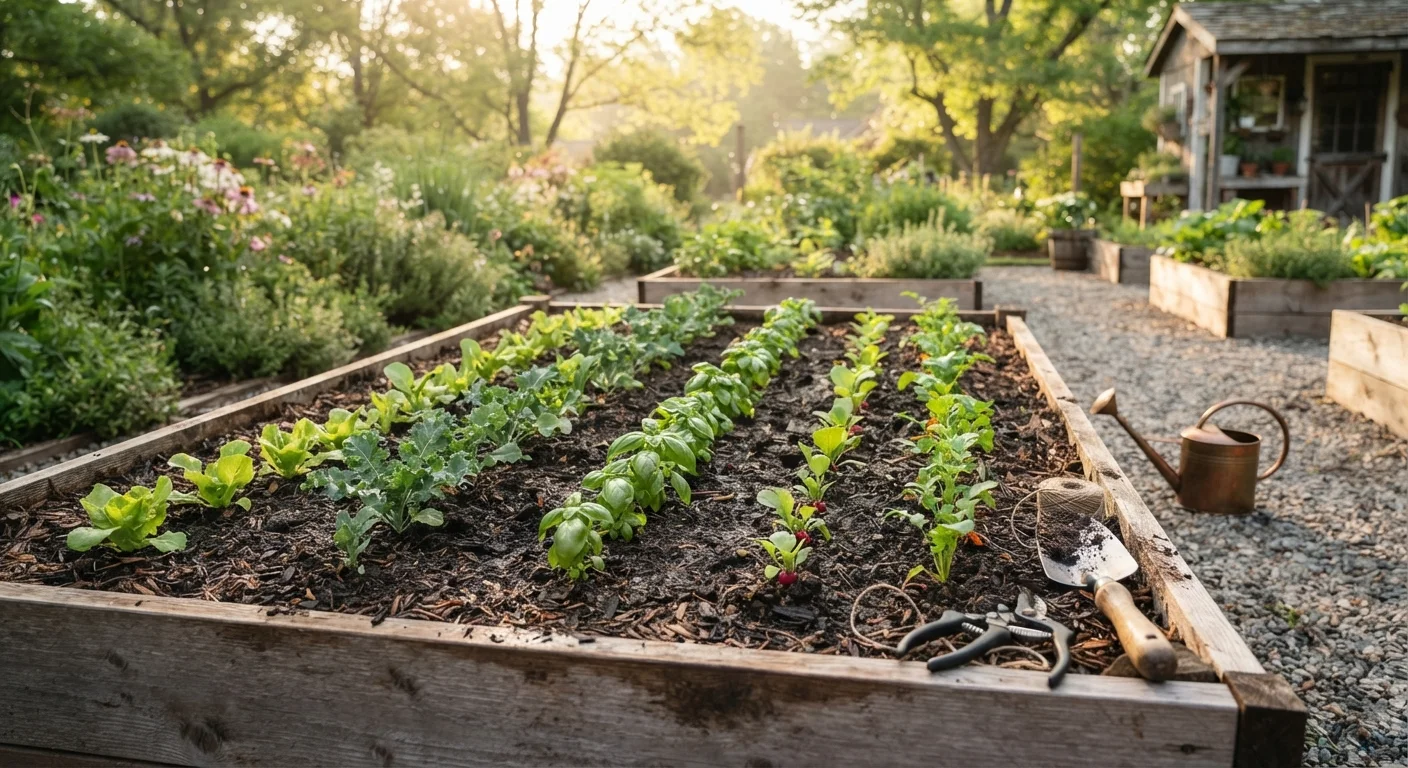
Photo credit: InsightsGrove.com | Discover Joy In Reading
In this article
From planning and soil prep to sowing, tending, and harvesting — a complete, budget-aware guide to your first vegetable growing season.
Key Takeaways
- A 4×8 ft plot is enough space for a productive first vegetable garden.
- Soil quality matters more than plot size - poor soil is the leading cause of first-year failure.
- Starting from seed is cheaper; seedlings save time - both approaches work for beginners.
- Consistent watering and early pest checks prevent most common season problems.
- Growing your own vegetables can meaningfully reduce grocery spending on fresh produce.
Planning Your Patch Before You Dig
The most common first-season mistake isn't poor watering or bad timing - it's starting without a plan. Before you touch a shovel, spend an hour answering three questions: Where will sunlight fall? How much space do you actually have? And how much time per week can you realistically commit?
Most vegetables need a minimum of six hours of direct sunlight daily. Walk your outdoor space at different times of day and note which areas get consistent sun. A south- or west-facing exposure typically performs best in the US.
On space: you don't need much. A 4×8 ft raised bed or a 10×10 ft in-ground plot is manageable for one person and can produce a meaningful amount of food. Larger isn't better when you're learning - it just means more work and more opportunity for overwhelm.
If you're curious about what a realistic setup actually costs, our guide breaks down beginner garden expenses with honest figures. And if you're worried you need a big yard or expensive gear, many common beliefs about gardening don't hold up.
Start Smaller Than You Think
New gardeners almost universally underestimate the time commitment and overestimate their first plot size. A 4×8 ft bed maintained well will consistently outperform a 20×20 ft bed that becomes unmanageable by July. Master a small space before expanding.
Choosing What to Grow
Resist the urge to grow everything. Your first season should be about building confidence and learning your plot's quirks - not maximizing variety. Choose four to six crops that match your climate zone, your available space, and what you'll actually eat.
Reliable beginner crops include:
- Lettuce and salad greens - fast-growing, shallow-rooted, and harvestable in under 40 days
- Radishes - ready in 25-30 days, great for filling gaps
- Bush beans - productive, low-maintenance, and don't need staking
- Zucchini - notoriously generous producers; one or two plants is often enough
- Cherry tomatoes - more forgiving than larger varieties, high yields
For a more detailed breakdown of which crops give the most return for time and money, see our guide on vegetables that give the most food for the least effort.
You'll also need to decide early whether to start from seed or buy seedlings. Seeds cost far less - often $2-$4 per packet versus $3-$6 per plant - but require more lead time and indoor setup. Our companion piece on seeds vs. seedlings walks through both options honestly.
~$530
Estimated annual value of produce from a well-maintained garden
According to the National Gardening Association, a typical food garden produces an estimated $530 worth of vegetables annually.
6+ hrs
Daily sunlight minimum for most vegetable crops
Most fruiting and root vegetables require at least six hours of direct sun per day for adequate growth and yield.
1 inch
Recommended water per week for vegetable beds
Most vegetable crops perform best with approximately one inch of water per week from rain or irrigation, according to general horticultural guidance.
Soil Prep: The Step Most Beginners Skip
Healthy soil is the single most important factor in a productive vegetable patch, and it's the step most first-timers underinvest in. Vegetables are heavy feeders - they need well-draining, nutrient-rich soil with a slightly acidic to neutral pH (roughly 6.0-7.0).
For in-ground beds, start by loosening soil to about 12 inches deep using a garden fork. Remove rocks, roots, and compacted clumps. Then work in 2-4 inches of compost - either homemade or purchased in bulk. This single step dramatically improves drainage, aeration, and nutrient availability.
For raised beds, a common fill mix is two parts topsoil, one part compost, and one part an aerating material such as perlite or coarse sand. Avoid using unmodified clay-heavy native soil in raised beds - it drains poorly and compacts quickly.
Never Skip Soil Testing in Year One
Amended soil that's still too acidic or too alkaline will block nutrient uptake regardless of how much compost you've added. Plants may look healthy early but stall out mid-season for no obvious reason. A $5-$10 soil test at the start eliminates this guesswork entirely.
You can get a basic soil pH test from a local garden center for a few dollars. Knowing your starting point lets you make targeted corrections rather than guessing. Lime raises pH; sulfur lowers it.
Sowing and Planting Your First Crops
Timing is everything in vegetable gardening. Planting too early in cold soil stresses crops or kills them outright. The reliable benchmark: know your last average frost date (findable via your county extension office or the USDA Plant Hardiness Zone Map) and count backward from there.
Cold-tolerant crops like lettuce, spinach, and peas can go in the ground two to four weeks before last frost. Warm-season crops - tomatoes, beans, squash - go in after frost risk has passed and soil has warmed to at least 60°F.
When direct sowing, follow the depth and spacing guidelines on each seed packet. The most common beginner mistake is planting too deep. A general rule: plant seeds at a depth of roughly twice their diameter.
Label every row immediately after sowing - don't rely on memory. Even experienced gardeners lose track of what's where once seeds germinate and early seedlings look similar.
Mislabeled rows lead to overcrowding, harvesting at the wrong time, and poor crop rotation decisions in following seasons.
Thin your seedlings ruthlessly when they emerge. Leaving them crowded feels wasteful but actually reduces yield for every plant in the row.
Overcrowded seedlings compete for light, water, and nutrients - thinning to the recommended spacing on the seed packet consistently produces larger, healthier plants.
Water in after planting and keep the soil surface consistently moist until germination - typically 5-14 days for most vegetables. Don't let it dry out completely during this window.
Tending Through the Season
Once plants are established, your main jobs are watering, weeding, and watching. Most vegetables need about one inch of water per week, either from rainfall or supplemental irrigation. Water at the base of plants rather than overhead to reduce fungal disease risk.
Weeds compete directly with your crops for water and nutrients. Deal with them while they're small - a quick 10-minute session twice a week is far easier than a two-hour catch-up. A 2-3 inch layer of mulch around plants suppresses weeds and retains moisture simultaneously.
Check plants regularly for pests. Common early-season pests include aphids, slugs, and cabbage loopers. Catching infestations early - before populations explode - usually means you can manage them with non-chemical methods like hand-picking or a strong spray of water.
Don't Overwater - It's a Common Trap
Overwatering is one of the leading causes of root rot and plant failure in beginner gardens. Before watering, push a finger an inch into the soil near the plant base - if it still feels moist, hold off. More plants are killed by too much water than too little.
Harvesting and What Comes Next
Most beginner gardeners wait too long to harvest, which actually reduces total yield. Leafy greens and zucchini in particular should be picked young and often - this signals the plant to keep producing. Tomatoes are ready when they pull easily from the vine with a gentle twist.
Once crops start coming in, you'll have more fresh produce than you might expect. If you're cooking from scratch and want to put it to work, our walkthrough on meal planning on a modest budget shows how to build a week of nutritious meals around what's in season.
After your final harvest, don't leave beds bare. Pull spent plants, add another round of compost, and consider a cover crop like winter rye or clover to feed the soil over winter. Season one teaches you your plot's quirks - light patterns, drainage spots, what grew well where. That knowledge compounds every year you garden.
Succession Planting Extends Your Harvest
Rather than sowing all your lettuce or beans at once, plant small batches every two to three weeks. This staggers your harvest window so you're not overwhelmed with produce all at once and then left with nothing. It's a simple technique with a large payoff.
Keep a simple notebook or phone note tracking what you planted, when, and what worked. It takes two minutes and will meaningfully improve your planning for next season.

Author
Home & Living Editorial Team
Home & Living Editorial Team is the collective byline for our editorial team and contributor network. Articles published under this byline or an editorial pen name are researched, written, and reviewed according to our editorial standards for clarity, consistency, and independence before publication.
View all articles →