
Budget Home Repair: A Complete Reference from Tools to Techniques
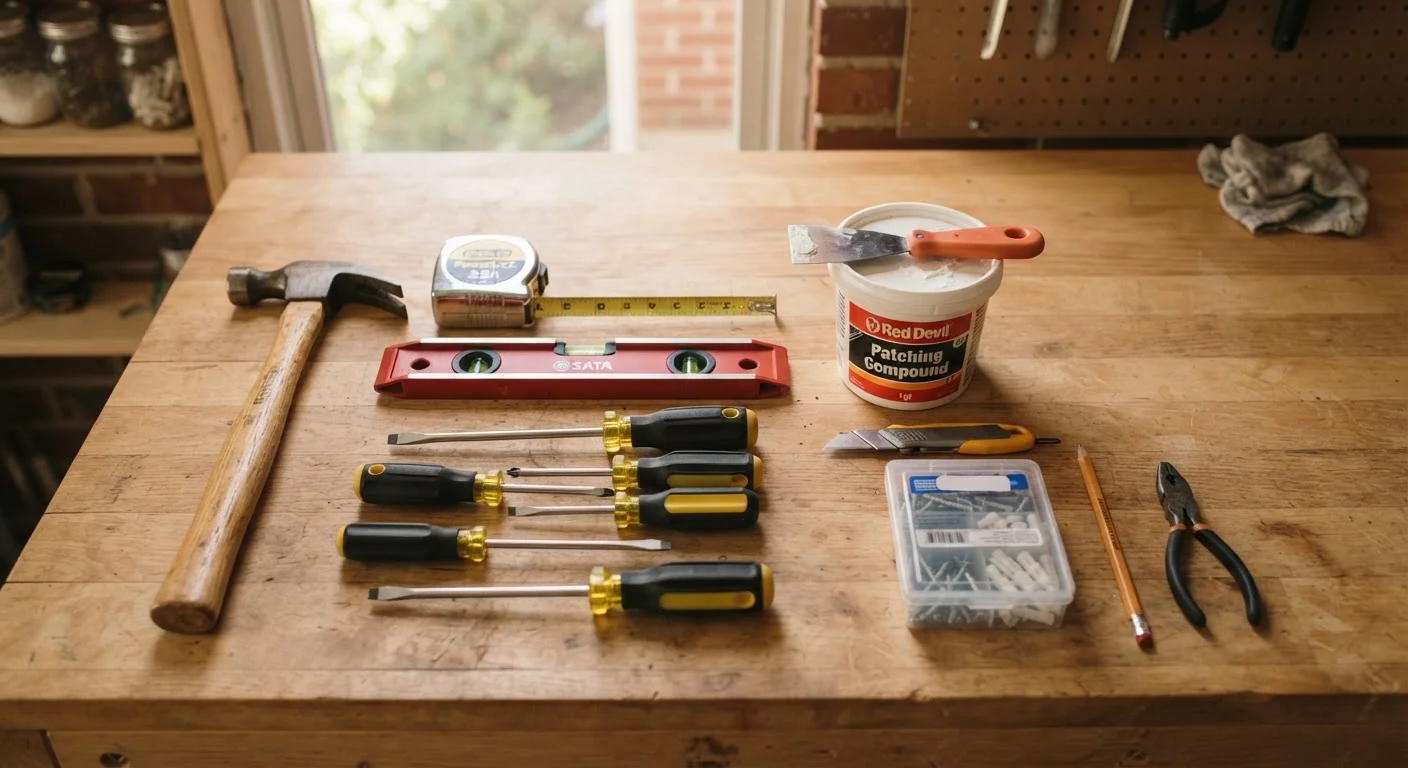
Photo credit: InsightsGrove.com | Discover Joy In Reading
In this article
A comprehensive starting point covering essential tools, material types, safety basics, and how to scope a repair before spending anything.
Key Takeaways
- Assessing the problem thoroughly before buying materials prevents costly mistakes.
- A core toolkit of roughly a dozen tools handles most common household repairs.
- Material choice affects durability - matching the right product to the job matters.
- Electrical, gas, structural, and plumbing-into-mains work typically requires licensed professionals.
- Preventive maintenance costs significantly less than emergency repairs over time.
Scope the Repair Before You Spend Anything
The most expensive mistake in home repair is buying materials before fully understanding the problem. Before touching a tool or a credit card, spend time diagnosing: identify the root cause, not just the visible symptom. A water stain on a ceiling could mean a roof issue, a plumbing leak, or condensation - each requiring a completely different fix.
Walk through these questions for any repair:
- What caused it? Surface damage with no underlying cause is straightforward. Damage with an active source (moisture, movement, pests) needs the source addressed first.
- What's the scope? Is this cosmetic, structural, or functional? A hairline paint crack differs from a crack in drywall that moves seasonally.
- What does a proper fix actually require? Look up the correct repair process - not just a quick patch - before estimating materials.
This upfront thinking is central to repairing on a tight budget without cutting corners. Cheap materials applied to a misdiagnosed problem will fail, costing more in the long run.
Start With a Written Problem Statement
Write down what you observe - not what you think the fix is - before researching solutions. 'Water stain on ceiling, appeared after heavy rain, located below upstairs bathroom' is far more useful than 'ceiling needs patching.' A clear problem statement leads to more accurate repair searches and fewer wasted supply runs.
Essential Tools for a Budget Repair Kit
You don't need a fully stocked workshop. A focused starter kit handles the majority of household jobs: patching, tightening, measuring, cutting, and hanging.
The Core 12
- 16 oz. claw hammer - driving nails, light demolition
- Flathead and Phillips screwdrivers (multiple sizes)
- Cordless drill/driver - the single most versatile tool you can own
- Measuring tape (25 ft.)
- 4 ft. level
- Utility knife
- Needle-nose and standard pliers
- Adjustable wrench
- Stud finder
- Putty knife (3-in. and 6-in.)
- Hacksaw
- Safety glasses and work gloves
Buy quality on items you'll use constantly (drill, hammer, tape measure) and accept mid-range on specialty tools you'll use rarely. Tool libraries, community lending programs, and secondhand marketplaces are all legitimate ways to access tools without buying them outright.
~1%
Annual home maintenance reserve guideline
A general rule of thumb cited by housing finance educators suggests setting aside around 1% of home value per year for maintenance, though actual costs vary widely.
$1 : $10
Preventive vs. reactive maintenance cost ratio
Industry estimates from facilities management research suggest that deferred maintenance can cost 8-10 times more than addressing issues proactively.
Understanding Common Repair Materials
Matching material to application is where many DIYers lose money. A quick primer on the most common categories:
Patching Compounds
Spackling paste suits small nail holes and minor surface dents in drywall. It shrinks slightly as it dries, so overfill slightly. Joint compound (mud) is better for larger repairs - it feathers more smoothly but takes longer to dry and requires sanding. Hydraulic cement handles active water leaks in masonry and concrete.
Adhesives and Sealants
Construction adhesive bonds trim, panels, and subfloor. Silicone caulk is waterproof and flexible - correct for tubs, sinks, and exterior gaps. Acrylic latex caulk is paintable and easier to apply indoors where water exposure is minimal. Never substitute one for the other.
Fasteners
Use corrosion-resistant (galvanized or stainless) fasteners anywhere moisture is present: bathrooms, exterior wood, decks. Interior drywall anchors come in several load ratings - always match the anchor to the actual weight, not an estimate.
See common myths about cheap materials saving money for a deeper look at where cutting corners on materials backfires.
Buy a small tube of matching caulk every time you regrout or seal a surface, and store it labeled with the location. When it fails a year later, you have an exact match without a second trip to the store.
Color-matching caulk on a return visit is difficult and often impossible if the original product has been discontinued - a frustratingly common problem.
Before patching any drywall, take a photo of the wall with a bright side light raked across the surface. This reveals texture patterns and existing repairs that will help you blend your patch convincingly.
Mismatched texture is the main reason DIY drywall patches look unprofessional - getting the match right before applying compound saves multiple rework cycles.
Safety Basics You Cannot Skip
Home repair injuries are common and often preventable. The following aren't suggestions - they're the baseline for any work beyond hanging a picture frame.
- Identify utilities before cutting or drilling. Use a stud finder with AC detection, or rent a multi-scanner. Cutting into a live wire or water pipe turns a small job into an emergency.
- Shut off power at the breaker and verify with a non-contact voltage tester before touching any wiring, even for something as simple as replacing an outlet cover.
- Wear the right PPE. Safety glasses for any cutting, grinding, or overhead work. N95 respirator when sanding drywall or disturbing older materials. Gloves when handling sheet metal, glass, or chemicals.
- Test for lead and asbestos in older homes. Paint in homes built before 1978 may contain lead; materials in homes built before the mid-1980s may contain asbestos. Inexpensive test kits are available, but disturbing confirmed asbestos-containing material requires professional abatement.
Never Guess at Electrical or Gas Work
Even seemingly minor electrical or gas work carries serious risk of fire, explosion, or electrocution if done incorrectly. In most US jurisdictions, this work must be performed by licensed contractors and inspected before use. Do not rely on online tutorials alone for these categories of repair - the consequences of error are potentially fatal and irreversible.
When to DIY and When to Call a Pro
Knowing your limit is as important as knowing your tools. A useful mental model: if a mistake would be dangerous, expensive to fix, or require opening walls to correct, it warrants professional involvement.
Generally Safe for Competent DIYers
- Patching drywall holes up to about 6 inches
- Replacing interior door hardware, hinges, and weatherstripping
- Caulking tubs, sinks, and windows
- Fixing running toilets or replacing flush mechanisms
- Painting interior walls and trim
- Installing shelving with proper anchors
Requires a Licensed Professional in Most Jurisdictions
- Any electrical panel or service work
- Gas line connection, repair, or relocation
- Structural changes (removing or modifying load-bearing walls)
- Plumbing connections to supply mains or drain stacks
- Roofing work beyond surface-level patching
If you're renting, your rights and obligations differ from those of a homeowner. The guide to repairs renters can legally handle lays out the boundaries clearly.
Permits and Inspections Protect You
Many repairs and improvements legally require a permit and inspection before the work is concealed. Skipping permits can create complications when selling a home, void insurance coverage for related incidents, or result in fines. Always check your local building department's requirements before starting any significant work - a quick call or website visit is usually all it takes.
Keeping Repairs Affordable Long-Term
The cheapest repair is the one you prevent. Reactive maintenance - fixing things after they fail - consistently costs more than a simple inspection routine. A seasonal maintenance checklist helps you catch minor problems before they compound.
A few durable habits that pay off:
- Address moisture immediately. Water damage escalates faster than almost any other problem. A $5 tube of caulk applied early can prevent hundreds of dollars in rot or mold remediation.
- Keep a simple home repair log. Note what was fixed, when, and with what materials. This prevents duplicate work and helps you spot recurring problems.
- Budget a maintenance reserve. A commonly cited general guideline - not a guarantee - is to set aside roughly 1% of your home's value annually for maintenance. The right figure varies by home age, condition, and location. For broader budgeting strategy, the principles in everyday budgeting apply directly to managing a home repair fund.
Smart material sourcing also matters. Developing smart shopping habits for home supplies - comparing unit prices, buying standard sizes, avoiding impulse upgrades - can meaningfully reduce what you spend without reducing quality.

Author
Home & Living Editorial Team
Home & Living Editorial Team is the collective byline for our editorial team and contributor network. Articles published under this byline or an editorial pen name are researched, written, and reviewed according to our editorial standards for clarity, consistency, and independence before publication.
View all articles →