
Caulk, Patch, Sand, Repeat: A First-Timer's Path to Fixing Wall Damage
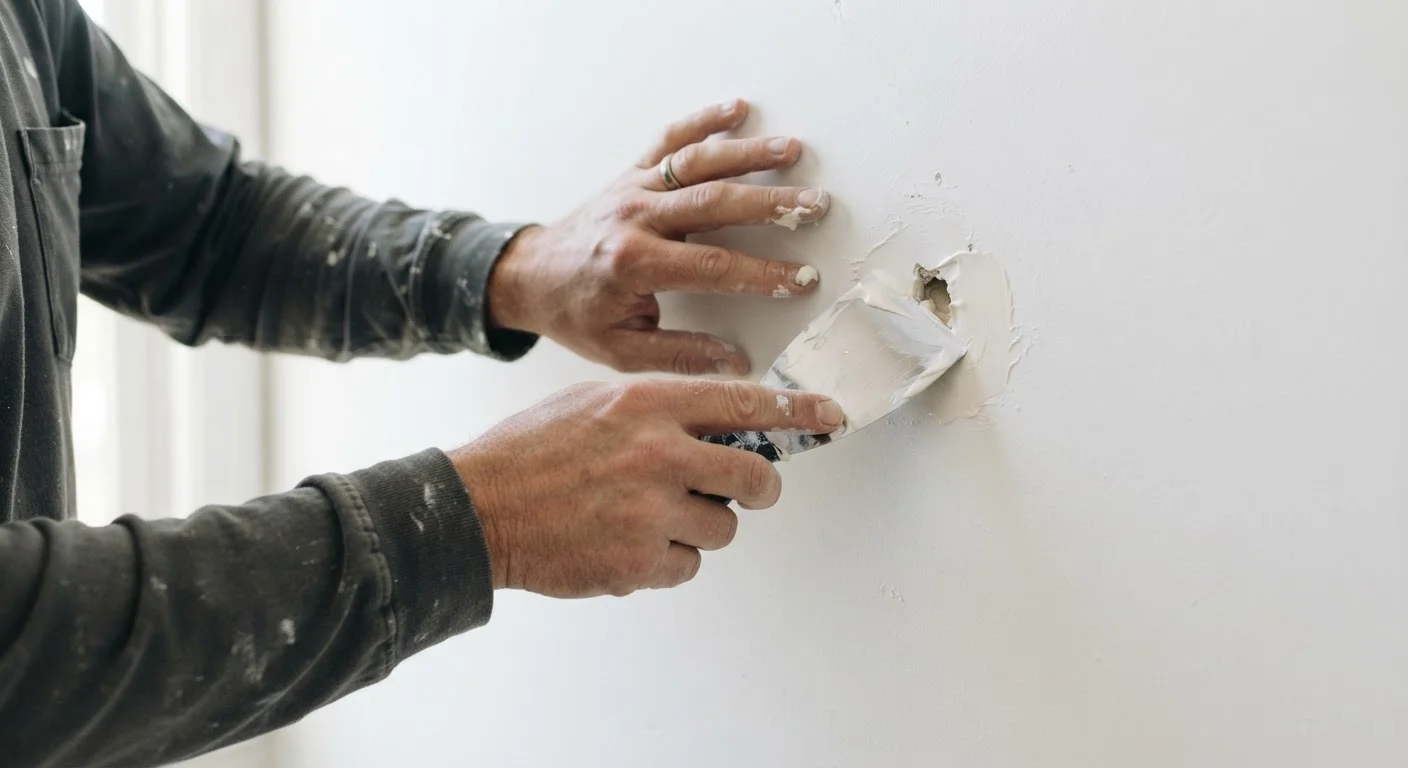
Photo credit: InsightsGrove.com | Discover Joy In Reading
In this article
Scuffs, holes, and cracks don't have to mean a lost security deposit. A practical walkthrough for repairing common wall damage on a tight budget.
Key Takeaways
- Most small holes, scuffs, and hairline cracks can be fixed with a putty knife, spackle, and a little sandpaper.
- Matching the right filler to the damage type - not just grabbing the nearest tube - determines whether the repair holds.
- Sanding between coats and priming before painting are the two steps most first-timers skip, and both matter.
- Structural cracks, water-stained walls, or damage near electrical panels require a licensed professional, not a DIY fix.
- Small repairs done early prevent costlier damage later - and protect security deposits for renters.
Know What You're Dealing With
Wall damage falls into a few distinct categories, and identifying yours before buying anything saves both money and effort. The repair for a scuff is completely different from the repair for a doorknob hole, which is different again from a crack running along a seam.
- Surface scuffs and paint damage: No filler needed. Light scuffs often respond to a magic eraser or touch-up paint alone.
- Nail holes and small dings (under ¼ inch): A fingertip of lightweight spackle, smoothed flat, is all it takes.
- Medium holes (¼ inch to 4 inches): Require a self-adhesive mesh patch or a California patch before applying joint compound in layers.
- Large holes (over 4 inches): Need a cut-in drywall piece secured to backing. More involved, but still DIY-able with patience.
- Hairline cracks along seams or corners: Usually a settling issue. Scrape loose material, apply joint compound, and embed paper or fiberglass tape before finishing.
- Cracks along trim and baseboards: Paintable latex caulk, not spackle. These gaps open and close with humidity, so you need a flexible filler.
If you're unsure whether a filler is the right call, this breakdown of epoxy, wood filler, and caulk explains when each material earns its place. And if you've been putting repairs off, the compounding cost of deferred maintenance is worth understanding before you decide to wait another month.
Spackle
A pre-mixed paste used to fill small holes and surface imperfections in drywall or plaster. It dries quickly and sands easily, making it ideal for minor repairs.
Joint compound
A thicker, slower-drying material (also called 'mud') used for larger patches, drywall seams, and multi-coat repairs. It shrinks slightly as it dries, so multiple thin coats are standard.
Feathering
The technique of tapering the edges of a compound coat outward so the patch blends gradually into the surrounding wall rather than ending with a visible ridge.
Primer-sealer
A preparatory coat applied over a patched area before paint. It seals the porous filler so the topcoat absorbs evenly and doesn't look dull or mismatched.
Mesh patch
A self-adhesive fiberglass or aluminum mesh square that covers holes too large for compound alone. It provides a rigid backing so the compound doesn't sink or crack as it dries.
Paintable latex caulk
A flexible sealant used along trim, baseboards, and corners. Unlike rigid fillers, it moves slightly with the house as temperature and humidity change, preventing re-cracking.
Tools and Materials You Actually Need
You don't need a contractor's van. For most first-timer repairs, this short list covers the vast majority of jobs:
- Putty knife (3-4 inch): For applying and feathering compound. A flexible blade gives better control on small patches.
- Lightweight spackle: Pre-mixed tubs are easier to work with than powder. Enough for nail holes to quarter-sized holes.
- All-purpose joint compound: For medium-to-large patches. Buy a small tub - a little goes a long way and dried-out compound is wasted money.
- Self-adhesive mesh patch kit: Handles holes up to about 4 inches without cutting drywall. Worth keeping one in a junk drawer.
- Sanding sponge or 120/220-grit sandpaper: You'll need both - coarser for shaping, finer for finishing.
- Paintable latex caulk + caulk gun: For trim gaps and corner cracks.
- Primer-sealer: A small spray can works fine for spot-priming patches.
- Touch-up paint or matched paint: Leftover paint from move-in is ideal. Otherwise, most hardware stores can match a paint chip.
For broader guidance on scoping any repair before spending money, this complete reference on budget home repair covers essential tools and material types in one place.
Buy Small, Buy Once
For a first-timer tackling a handful of wall repairs, a quart tub of joint compound and a small tub of spackle will likely outlast multiple projects. Avoid large quantities - joint compound dries out in storage and becomes unusable. Store leftover compound with plastic wrap pressed directly against the surface before sealing the lid.
Step-by-Step: Patching Holes and Cracks
The process is consistent across most repairs - what changes is the number of layers and whether you need a backing patch first.
For nail holes and small dings:
- Clean loose debris from the hole with a fingernail or the tip of a putty knife.
- Press a small amount of lightweight spackle into the hole using the putty knife, slightly overfilling.
- Scrape the blade flat across the surface to leave a thin, even layer flush with the wall.
- Let dry completely (check the label - typically 1-2 hours for thin fills).
- Sand lightly with 220-grit until flush. Prime and paint.
For medium holes (up to 4 inches):
- Peel and stick a self-adhesive mesh patch centered over the hole.
- Apply a thin coat of all-purpose joint compound over the mesh using the putty knife, feathering edges outward well beyond the patch.
- Let dry fully - this may take overnight for thicker applications.
- Sand lightly, then apply a second thin coat. Repeat until the surface is smooth and the mesh texture disappears.
- Final sand with 220-grit. Prime and paint.
For cracks along trim or corners:
- Load a caulk tube into the gun and cut the tip at a 45-degree angle, starting small.
- Run a steady bead along the crack, holding the gun at a consistent angle.
- Smooth immediately with a damp finger or a caulk tool.
- Let cure per label directions before painting.
Principles for doing repairs on a tight budget - including how to prioritize jobs when money is short - apply directly to this kind of multi-step work.
Don't Rush the Drying Time
Applying a second coat of compound over a damp first coat traps moisture and causes bubbling, cracking, and poor adhesion. The compound must be fully dry - not just surface-dry - before sanding or recoating. In humid conditions or thick fills, this can take significantly longer than the label suggests. When in doubt, wait an extra few hours.
Sanding, Priming, and Painting for an Invisible Finish
The repair compound is only half the job. How you finish determines whether the patch is invisible or obvious under light.
Sanding
Start with 120-grit to knock down high spots, then switch to 220-grit for a smooth final surface. Sand in circular motions and keep checking with a raking light - hold a flashlight nearly parallel to the wall to reveal ridges and depressions you'd otherwise miss. Wipe dust with a lightly damp cloth before priming.
Priming
Never skip this step. Spackle and joint compound are porous and absorb paint at a different rate than the surrounding wall. Even if the paint color matches perfectly, an unprimed patch will look dull and flat - a telltale 'flash.' A quick coat of spray primer-sealer on just the patched area is all you need. Let it dry fully before painting.
Painting
Apply paint with the same tool used on the original wall - roller for textured or flat walls, brush for trimmed edges. Feather the paint outward past the primed area by a few inches so the edge blends rather than stops abruptly. Two thin coats beat one thick one every time. If sheen or color still stands out, the issue is usually paint age or batch variation, not technique - a full wall repaint is the only reliable fix in that case.
Once your walls are in order, you might also consider whether paint or peel-and-stick wallpaper makes sense for your next decorating decision as a renter.
When to Stop DIYing and Call a Professional
Most wall repairs are genuinely low-risk DIY tasks. But a few situations call for a licensed contractor or specialist - and recognizing them early prevents costly mistakes.
- Cracks that return after repair: If the same crack reopens within months, it may indicate ongoing foundation movement or structural settling. A structural engineer or general contractor should assess it.
- Water stains or soft drywall: Discoloration, bubbling paint, or spongy wall material signals moisture behind the wall. Patching over it without fixing the source - a leaking pipe, roof, or window - guarantees the problem returns. A plumber or roofer should diagnose the source first.
- Damage near electrical panels, outlets, or switches: Any repair that brings you close to wiring should be handled by a licensed electrician. Don't cut into walls near outlets without knowing what's behind them.
- Asbestos risk in older homes: Homes built before 1980 may contain asbestos in drywall compound or texture coatings. If you're unsure about your home's age or materials, have the area tested by a certified inspector before sanding or cutting anything.
Note: Permitted structural repairs - anything involving load-bearing walls, headers, or changes to framing - typically require a building permit and licensed contractor in most U.S. jurisdictions. Always check local requirements before starting work that goes beyond surface-level patching.
This article is for general informational purposes only. For repairs involving structural elements, hazardous materials, or work subject to local building codes, consult a licensed professional and verify requirements with your local authority.
Frequently Asked Questions

Author
Home & Living Editorial Team
Home & Living Editorial Team is the collective byline for our editorial team and contributor network. Articles published under this byline or an editorial pen name are researched, written, and reviewed according to our editorial standards for clarity, consistency, and independence before publication.
View all articles →