
Growing Herbs Indoors: What Actually Works on a Kitchen Windowsill
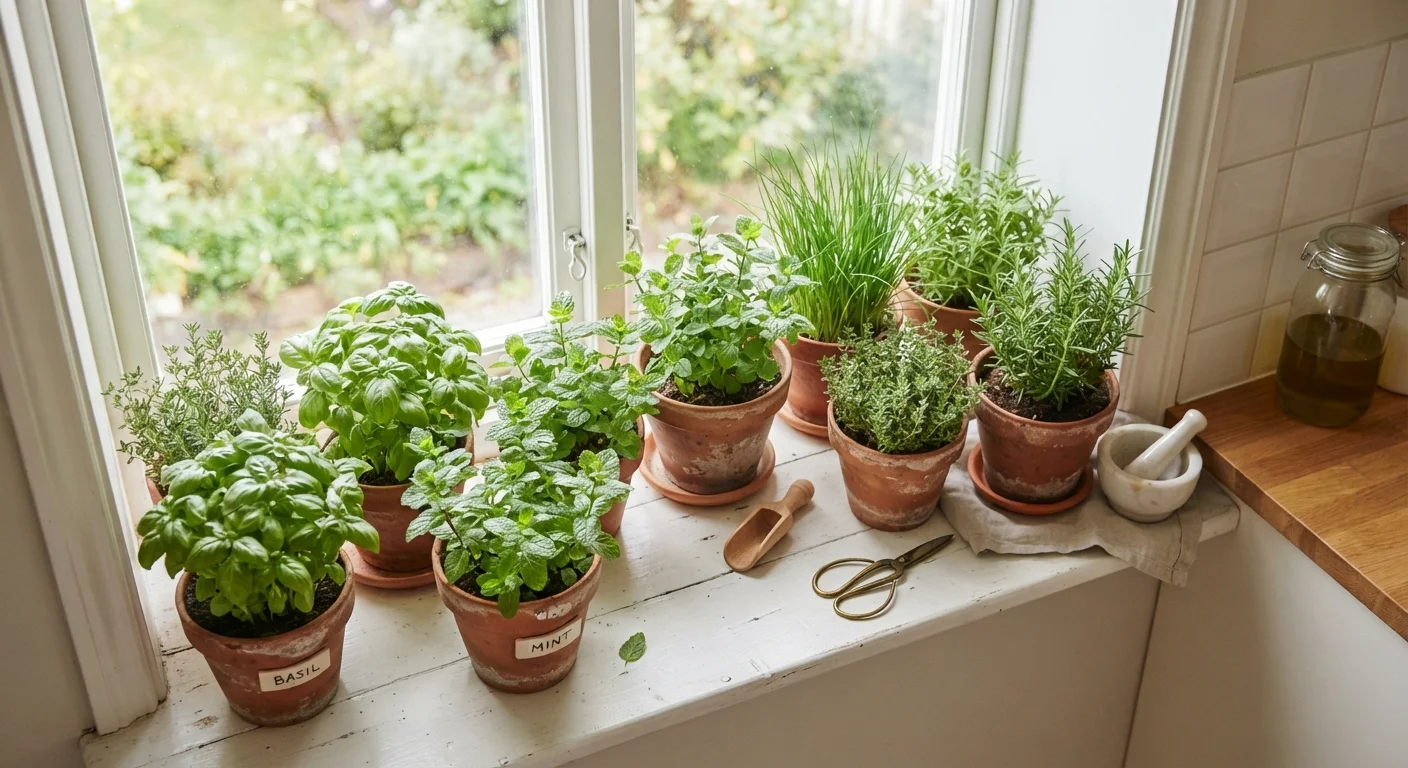
Photo credit: InsightsGrove.com | Discover Joy In Reading
In this article
Not every herb thrives inside. This guide explains which varieties suit low-light interiors and how to keep them productive year-round.
Key Takeaways
- Not all herbs suit indoor conditions - choosing the right varieties from the start prevents wasted effort.
- Light is the single biggest limiting factor; south- or east-facing windows work best without supplemental lighting.
- Most indoor herb failures trace back to overwatering, poor drainage, or undersized containers.
- Harvesting correctly - cutting above a leaf node - keeps plants productive far longer.
- Starting herbs from seed costs considerably less than buying nursery transplants repeatedly.
Which Herbs Actually Belong on a Windowsill
The biggest mistake beginners make is buying whichever herb looks good at the grocery store checkout. Many culinary herbs are sun-hungry Mediterranean plants that struggle indoors. Before spending anything, match the herb to your available light.
Reliable performers with moderate light (4-6 hours):
- Chives - hardy, almost impossible to kill indoors, regrow reliably after cutting
- Mint - thrives in lower light, but needs its own pot because it spreads aggressively
- Parsley - tolerates shade better than most, though growth slows without a south-facing window
- Lemon balm - low-maintenance, pleasant scent, good in teas
Herbs that need 6+ hours of direct sun (harder indoors unless you have a bright south-facing window):
- Basil - very sensitive to cold drafts and low light; yellows quickly in dim kitchens
- Rosemary - needs strong light and excellent air circulation; prone to powdery mildew inside
- Thyme - manageable in bright windows but grows slowly without supplemental light
If your kitchen only gets indirect light, lean heavily toward chives, mint, and parsley. For low-light strategies that apply beyond the windowsill, see our guide to low-light growing spaces.
What you will need
Setup, Containers, and Soil
Getting the physical setup right before planting prevents the most common failure points. Container size, drainage, and soil composition matter more than any product you might buy later.
Pots with drainage holes (6"+ deep)
Prevents waterlogging, which is the leading cause of indoor herb death.
All-purpose potting mix
Provides the correct texture and nutrients for container-grown herbs.
Perlite or coarse sand
Mixed into potting soil to improve drainage for Mediterranean herbs like thyme and rosemary.
Small watering can with a narrow spout
Allows controlled watering at soil level, keeping foliage dry and reducing disease risk.
Saucers or drip trays
Catches water that drains through, protecting surfaces while still allowing drainage.
Grow light (LED, low-wattage)
Supplements natural light in kitchens with fewer than 4 hours of direct sun daily.
Use containers with drainage holes - this is non-negotiable. Herbs sitting in waterlogged soil develop root rot within days. A layer of gravel at the bottom of a pot does not substitute for actual drainage holes. Repurposed yogurt tubs and tin cans work fine if you punch holes in the base.
A standard all-purpose potting mix is suitable for most herbs. Avoid garden soil from outside; it compacts in containers and can introduce pests. For Mediterranean herbs like thyme or rosemary, mix in a small amount of perlite or coarse sand to improve drainage further.
Keep pots at least 6 inches deep. Shallow containers dry out too quickly and restrict root development. Chives and mint can share a wider, shallower tray, but keep mint isolated - it will crowd out neighbors.
Grouping Pots Helps Humidity
Indoor air - particularly in heated apartments - is often drier than herbs prefer. Clustering pots together raises the local humidity slightly as plants transpire. Setting pots on a tray filled with pebbles and a small amount of water (below the pot base) can help further without waterlogging roots.
If you're curious how container-based setups scale up beyond a windowsill, container gardening for renters covers the broader approach for balconies and patios.
Planting, Watering, and Ongoing Care
Follow the steps below to get herbs established and keep them producing. The process is straightforward, but a few details - particularly around watering and harvesting - make the difference between a thriving plant and one that collapses after a month.
Choose herbs that match your actual light conditions
Before buying anything, observe your windowsill for a full day. Count how many hours direct sunlight hits the surface. Under 4 hours: stick to chives, mint, and parsley. Over 6 hours: you can attempt basil or thyme. Resist buying herbs that need more light than you have - they will fail regardless of other care.
Fill containers with potting mix and plant seeds or transplants
Fill pots to within an inch of the rim. For seeds, follow packet depth guidelines - most herb seeds are sown at the soil surface or just barely covered. For transplants, set the root ball so the top sits slightly below the pot rim, then firm the soil around it. Water gently immediately after planting.
Starting from seed is cheaper: a single packet typically costs less than one nursery transplant and produces many more plants. The tradeoff is a 2-4 week wait before harvest-ready growth.
Water correctly - check the soil before every watering
Push your finger one inch into the soil. If it feels damp, do not water. If it feels dry, water thoroughly until it drains from the bottom. Empty the saucer after 30 minutes so roots don't sit in standing water. Most indoor herbs need watering every 3-5 days in warm months, less in winter.
Harvest regularly and correctly
Cut stems just above a pair of leaves rather than pulling from the base or randomly snipping tips. This encourages the plant to branch and produce more growth. For basil, pinch off flower buds as soon as they appear - once basil bolts (goes to seed), leaf flavor declines sharply and production slows. For chives, cut the entire clump down to 2 inches periodically; it regrows quickly.
Never remove more than one-third of the plant at once, especially in winter when growth is slower.
Feed sparingly and rotate the pot
Herbs in containers exhaust nutrients within a few months. A diluted liquid fertilizer applied once a month during the active growing season (spring through early fall) is sufficient - over-fertilizing produces lush but flavorless leaves. Rotate the pot a quarter turn every week so all sides receive even light exposure and the plant grows upright rather than leaning toward the window.
For watering discipline beyond herbs, the same logic of checking soil moisture before acting applies across your whole garden - smart watering habits has more on getting this right efficiently.
Drafts and Radiators Are Hidden Killers
A windowsill that looks ideal in summer can become inhospitable in winter. Cold drafts seeping through single-pane glass stress herbs almost as much as insufficient light. Equally, positioning pots directly above a radiator dries soil and roots out rapidly. Check the windowsill temperature on cold nights and move pots inward if needed.

Author
Home & Living Editorial Team
Home & Living Editorial Team is the collective byline for our editorial team and contributor network. Articles published under this byline or an editorial pen name are researched, written, and reviewed according to our editorial standards for clarity, consistency, and independence before publication.
View all articles →