
Making the Most of a North-Facing Garden or Shady Rental Outdoor Space
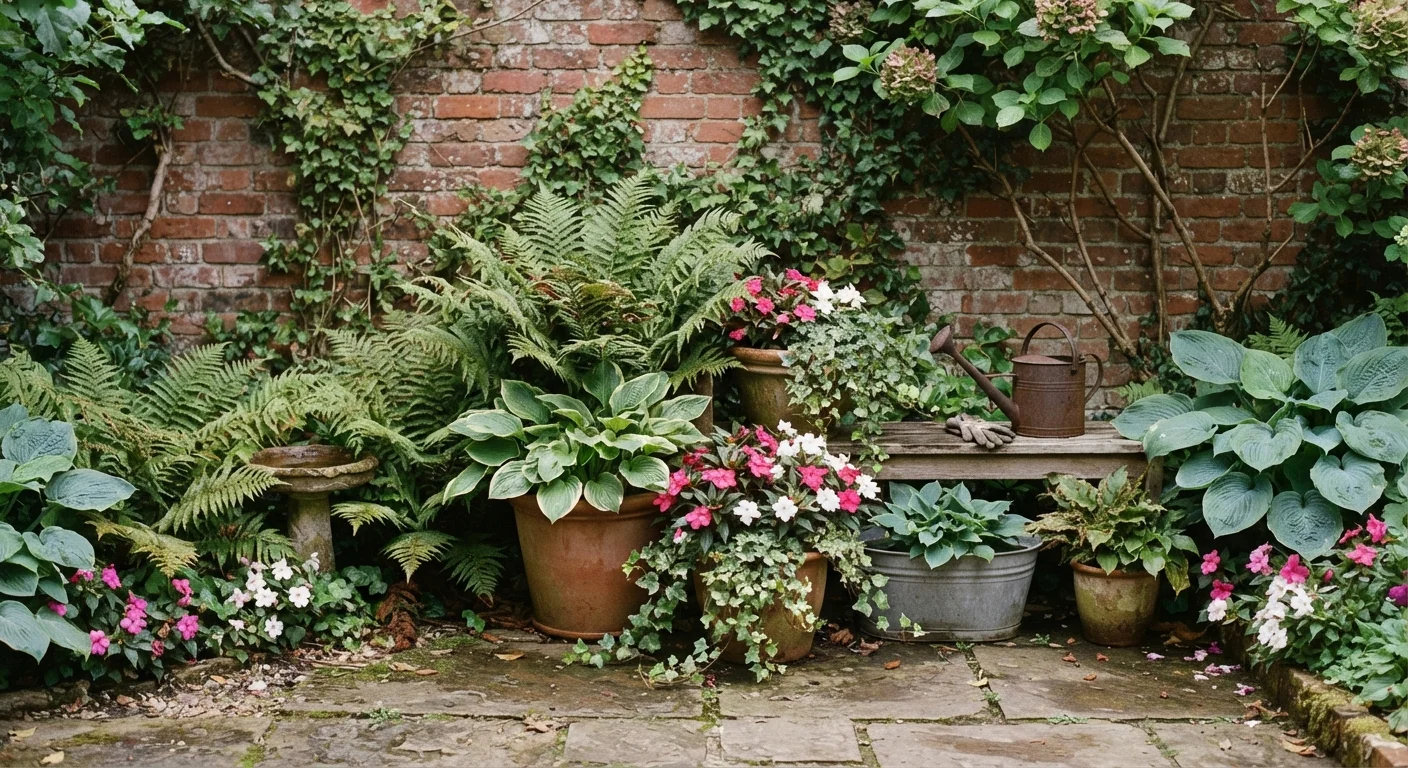
Photo credit: InsightsGrove.com | Discover Joy In Reading
In this article
Low light doesn't mean no garden. Discover which plants thrive in shade and how to work with your space rather than against it.
Key Takeaways
- North-facing and shaded spaces support a wide range of plants when you match species to actual light levels.
- Reflective surfaces and light-colored containers can meaningfully increase usable light without cost.
- Shade-tolerant edibles like lettuce, mint, and chives can still produce a worthwhile harvest.
- Renters should assess drainage and landlord rules before investing in any containers or structures.
- Consistent moisture management matters more in shaded spaces than in sunny ones.
Why Shade Gardening Is Worth Doing Right
A north-facing garden or heavily shaded rental patio can feel like a limitation, but it's more accurate to call it a different set of conditions. Many popular garden plants - hostas, ferns, hellebores, and several edible herbs - are genuinely shade-tolerant and will outperform sun-stressed plants placed in the wrong spot. The mistake most gardeners make is treating shade as a problem to overcome rather than a condition to work with.
Shade gardening also tends to be lower-maintenance. Plants in low-light environments grow more slowly, need less frequent watering, and are less prone to heat stress. For renters managing time and a tight budget, that's a practical advantage. Before committing to any plants or setup, it helps to understand what a north-facing space actually offers - and what it doesn't - so spending stays focused. The real costs of starting a garden article is worth reviewing to set realistic budget expectations from the start.
What you will need
Step-by-Step: Setting Up Your Shady Space
Working through the steps below in order will help you avoid the most common and costly mistakes - particularly buying plants before assessing your light and checking any rental restrictions. Use the tool list as a starting point; not every item is essential on day one.
Containers or planters
Allow flexible plant placement so you can move plants to the brightest spots as light shifts.
Peat-free multi-purpose compost
Provides a nutrient-rich, well-draining growing medium suited to container plants in low-light conditions.
Light-reflective material or white paint
Applied to walls or fences to bounce ambient light toward plants and increase effective brightness.
Moisture meter
Helps avoid overwatering, which is a common problem in shaded spaces where soil dries more slowly.
Slow-release granular fertilizer
Feeds plants consistently over several weeks, reducing maintenance in lower-productivity shade environments.
Map your light throughout the day
Before buying a single plant, spend a full day observing where and when light actually falls in your space. North-facing gardens rarely receive direct sun, but they do get reflected and diffused light - and the intensity varies by season, nearby structures, and overhead canopy. Note which areas receive the most ambient brightness, even if no direct sunlight reaches them. This distinction matters: "deep shade" (under dense tree cover or in a narrow alley) demands very different plants than "partial shade" (open sky above but no direct sun).
Check the space's practical limits before spending anything
If you rent, review your tenancy agreement before placing heavy containers or attaching anything to walls or fences. Weight limits are a real concern on balconies. Drainage is equally important - standing water in a shaded area can cause root rot and damage paved surfaces. See the balcony garden checklist for a full rundown of what to verify before spending anything.
Maximize the light you do have
Shaded spaces aren't dark spaces - they're poorly directed light spaces. Painting a dull fence white or pale gray, or placing a large mirror (secured safely and not angled toward neighbor windows) can reflect surprising amounts of ambient light toward your plants. Light-colored containers and pale gravel mulch serve the same purpose on a smaller scale. These are low-cost interventions that can expand what you're able to grow without changing the orientation of the space at all.
Choose plants matched to your actual light level
This is where most shade garden failures happen - choosing plants based on hope rather than conditions. For partial shade, reliable performers include hostas, ferns, astilbe, foxgloves, impatiens, and hellebores. For deeper shade, ivy, lily of the valley, and epimedium are more appropriate. On the edible side, partial shade can support lettuce, spinach, kale, mint, chives, and parsley. Full-sun vegetables like tomatoes, peppers, and courgettes will not produce meaningfully in a north-facing space - managing that expectation from the start saves both money and frustration. For more on productive low-light edibles, the indoor herb guide covers many species that translate well to shady outdoor conditions too.
Set up containers for flexibility and drainage
Containers are the most practical solution for renters because they're portable, require no ground disturbance, and can be repositioned as conditions change. Use containers with drainage holes - never plant directly into decorative pots without a drainage layer. In shaded spaces, soil stays moist much longer than in sunny spots, so good drainage is essential to prevent rot. Group containers together where light is strongest, and use pot feet or bricks to lift them slightly off paved surfaces to aid airflow. The container gardening guide for renters covers setup in detail.
Water and feed appropriately for shade conditions
Shaded plants are frequently overwatered because gardeners assume they need the same frequency as sun-loving plants. In reality, soil in shade dries out much more slowly. Check soil moisture before watering - push a finger about an inch into the compost and only water if it feels dry at that depth. A moisture meter removes guesswork entirely. Feed container plants with a slow-release fertilizer at planting time, then liquid feed every two to four weeks during the growing season. For broader water-saving habits across your garden, see smart watering guidance.
Foliage Over Flowers in Deep Shade
In very low-light spots, focus on foliage plants rather than bloomers. Hostas, ferns, and ivy provide year-round structure and visual interest without needing the energy that flowering requires. Textural contrast between large-leafed and fine-leafed plants can make a shaded area feel intentional and well-designed rather than overlooked.
Common Pitfalls and How to Avoid Them
The most common mistake in shade gardening is planting species that need more light than the space provides. A plant that receives insufficient light will become leggy (stretched and weak as it reaches for sun), produce fewer flowers, and become more susceptible to disease. Stick to the shade-tolerance categories identified when you mapped your light in step one.
Overwatering is the second most frequent issue. Shaded soil can appear dry on the surface while remaining damp below - always check moisture an inch or two down before adding water. Grouping plants in containers makes this easier to manage and gives the garden a more cohesive look even in a small space. If you're working on a balcony, the small space living hub has additional ideas for making compact outdoor areas feel purposeful and organized.
Avoid Invasive Plants in Containers Without Barriers
Some shade-tolerant plants - particularly mint and lily of the valley - spread aggressively if given the opportunity. Always grow these in their own dedicated containers rather than mixed planters, and never plant them directly into garden beds unless you're prepared to manage spreading. This is especially important in rental properties where reversing the damage could be costly.

Author
Home & Living Editorial Team
Home & Living Editorial Team is the collective byline for our editorial team and contributor network. Articles published under this byline or an editorial pen name are researched, written, and reviewed according to our editorial standards for clarity, consistency, and independence before publication.
View all articles →