
Composting in a Small Space: Turning Kitchen Scraps Into Free Fertiliser
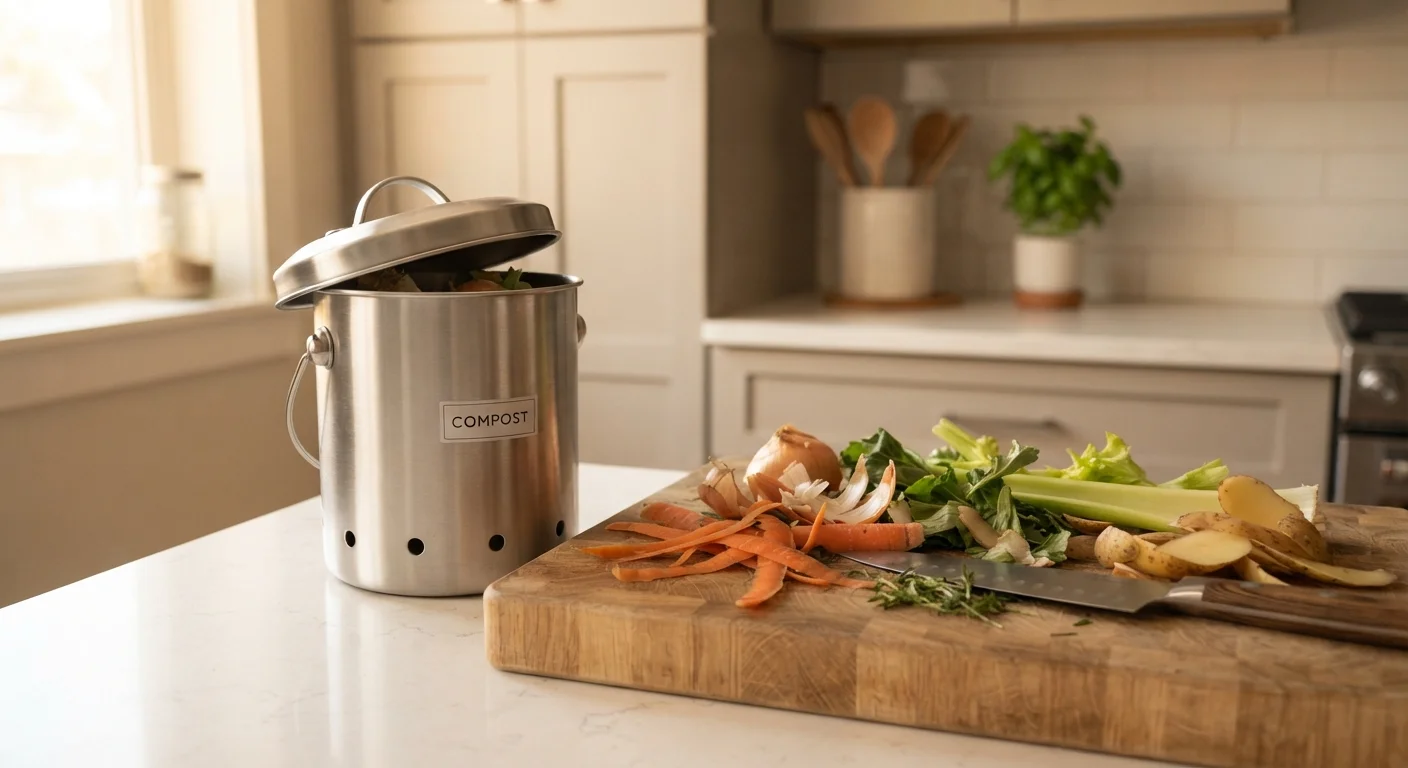
Photo credit: InsightsGrove.com | Discover Joy In Reading
In this article
You don't need a large yard to compost. Discover compact methods that turn food waste into nutrient-rich soil at virtually no cost.
Key Takeaways
- Composting doesn't require a yard - indoor bins, worm systems, and bokashi all work in small spaces.
- Kitchen scraps like vegetable peels, coffee grounds, and eggshells are ideal compost feedstocks.
- Finished compost can replace store-bought fertiliser, reducing gardening costs meaningfully.
- A properly maintained compact compost system produces little to no odour.
- Balancing 'greens' and 'browns' is the single most important factor for fast, clean decomposition.
Why Small-Space Composting Is Worth It
Food waste accounts for a significant share of household trash, and most of it could be diverted into something genuinely useful. Finished compost - often called "black gold" by gardeners - improves soil structure, feeds plants slowly, and costs nothing to produce beyond the scraps you were already throwing away.
For renters and apartment dwellers, composting can seem like a non-starter. But compact methods have made it accessible for anyone with a kitchen, a balcony, or even just a closet shelf. If you're already growing herbs or vegetables in containers, homemade compost is one of the most direct ways to cut ongoing costs. See our guide to container gardening for renters for how to put that finished compost to immediate use.
This article walks through three proven compact composting methods, what to feed them, and how to maintain them without mess or smell.
What you will need
Choosing the Right Method for Your Space
Not every method suits every living situation. Here's a plain comparison to help you choose:
- Countertop or indoor bin composting - Works for people with outdoor access (a building dumpster area, community garden, or nearby yard). You collect scraps indoors and transfer them regularly. Low effort, but you're not completing the full cycle yourself unless you have somewhere to finish the pile.
- Worm bin (vermicomposting) - A sealed bin housing red wiggler worms breaks down food scraps into extremely rich castings. Bins can fit under a kitchen sink or in a closet. This is the most self-contained option and the most popular for apartment dwellers.
- Bokashi fermentation - A Japanese method using inoculated bran to ferment (not decompose) food scraps in an airtight bucket. It handles meat and dairy that other methods can't, produces no odour when sealed, and finishes in two weeks. The fermented material still needs to be buried or mixed into soil to complete breakdown.
Each method has tradeoffs on cost, maintenance, and what scraps it accepts. Worm bins and bokashi systems both require an initial small purchase, but pay for themselves quickly when you factor in fertiliser you no longer need to buy. For a fuller picture of what small-space gardening actually costs, see the real costs of starting a garden.
Worm bin (vermicomposter)
Houses red wiggler worms and their bedding; the enclosed space where scraps are broken down into castings.
Bokashi bucket with lid
Airtight fermentation container used in the bokashi method; needed to keep odour sealed in and oxygen out.
Bokashi bran (inoculated)
The active culture sprinkled over scraps in bokashi fermentation to drive the microbial process.
Shredded newspaper or cardboard
Acts as 'brown' carbon material in worm bins, balancing nitrogen-heavy food scraps and absorbing excess moisture.
Red wiggler worms
The composting organisms in a vermicomposting system; different from common earthworms, they thrive in organic matter rather than soil.
Small countertop collection container
Collects scraps at the point of meal prep before transfer to the main bin, reducing trips and mess.
Step-by-Step: Setting Up and Running Your System
The steps below focus primarily on vermicomposting - the most practical self-contained method for small spaces - with notes for bokashi where the process differs significantly.
Set up your bin with bedding
For a worm bin, fill it roughly one-third full with damp shredded newspaper or cardboard. The bedding should feel like a wrung-out sponge - moist but not dripping. This gives worms a place to live and balances the nitrogen in the food scraps you'll add. For a bokashi bucket, no bedding is needed; simply have your inoculated bran ready.
Add your worms
Place red wiggler worms (Eisenia fetida) into the prepared bedding. A typical starting amount is around half a pound to one pound of worms for a standard small bin. They will take a few days to settle in - don't add food immediately. Let them acclimate to the bedding first.
Start feeding with small amounts
After 2-3 days, begin adding kitchen scraps in small quantities. Bury them under the bedding rather than leaving them exposed on the surface. Good starting scraps include: vegetable peels, fruit cores and peels, coffee grounds and paper filters, tea bags (remove staples), and crushed eggshells. Start slowly - a new bin's worm population needs time to scale up to match your scrap volume.
Maintain the carbon-to-nitrogen balance
Every time you add nitrogen-rich 'greens' (food scraps), add a roughly equal volume of carbon-rich 'browns' (shredded paper, cardboard, or dry leaves). This ratio is what keeps a bin from becoming smelly and anaerobic. A bin that smells strongly usually has too many greens and not enough browns.
Harvest finished compost
After roughly 8-12 weeks, portions of the bin will look like dark, crumbly, earthy-smelling material - that's finished vermicast (worm castings). To harvest, push all contents to one side, add fresh bedding and scraps to the empty side, and wait a week. Worms will migrate toward the new food, leaving the finished compost mostly clear to collect. Use it as a top dressing for container plants or mix it into potting soil.
What to Do With Compost in an Apartment
If you don't have outdoor containers or raised beds, finished compost is still useful. Many community gardens accept donations of homemade compost, and neighbours with gardens are often grateful recipients. Pair it with seeds sourced locally to keep your costs near zero. See our small-space living hub for more ideas on making compact homes work harder.
Don't Overload a New Bin
A common mistake is adding large amounts of scraps before the worm population has grown enough to process them. Excess food rots rather than getting consumed, leading to odour and fly problems. Feed conservatively for the first month, then gradually increase volume as the bin matures.
Troubleshooting Common Problems
Even a well-managed bin can run into issues. Here's how to address the most frequent ones:
- Unpleasant odour
- Usually caused by too many wet 'greens' or not enough airflow. Add more shredded paper or cardboard and mix the bin gently. Avoid adding cooked food or oils to a worm bin.
- Fruit flies
- Bury food scraps under a layer of bedding rather than leaving them on the surface. A piece of damp cardboard laid directly on top of the contents also deters flies effectively.
- Bin feels too dry
- Spritz with water until the bedding feels like a wrung-out sponge. Worms need moisture to move and digest.
- Worms clustering near the lid
- This typically signals the bin is too acidic. Reduce fruit scraps temporarily and add crushed eggshells or a small amount of garden lime to raise the pH.
Composting is a living system and takes minor adjustments to dial in. Once it's balanced, it largely runs itself. Pair your finished compost with seeds or cuttings sourced through community swaps - see free and low-cost ways to get plants and seeds for practical options.
Bokashi Ferment Still Needs Burial
Bokashi produces fermented, pre-digested material - not finished compost. It must be buried in soil or mixed into a traditional compost pile to complete breakdown, which takes a further 2-4 weeks. If you add raw bokashi output directly to plant roots, the acidity can damage plants. Plan for this final step before starting a bokashi system.

Author
Home & Living Editorial Team
Home & Living Editorial Team is the collective byline for our editorial team and contributor network. Articles published under this byline or an editorial pen name are researched, written, and reviewed according to our editorial standards for clarity, consistency, and independence before publication.
View all articles →