
Why Your Grout Keeps Cracking - and What Actually Fixes It
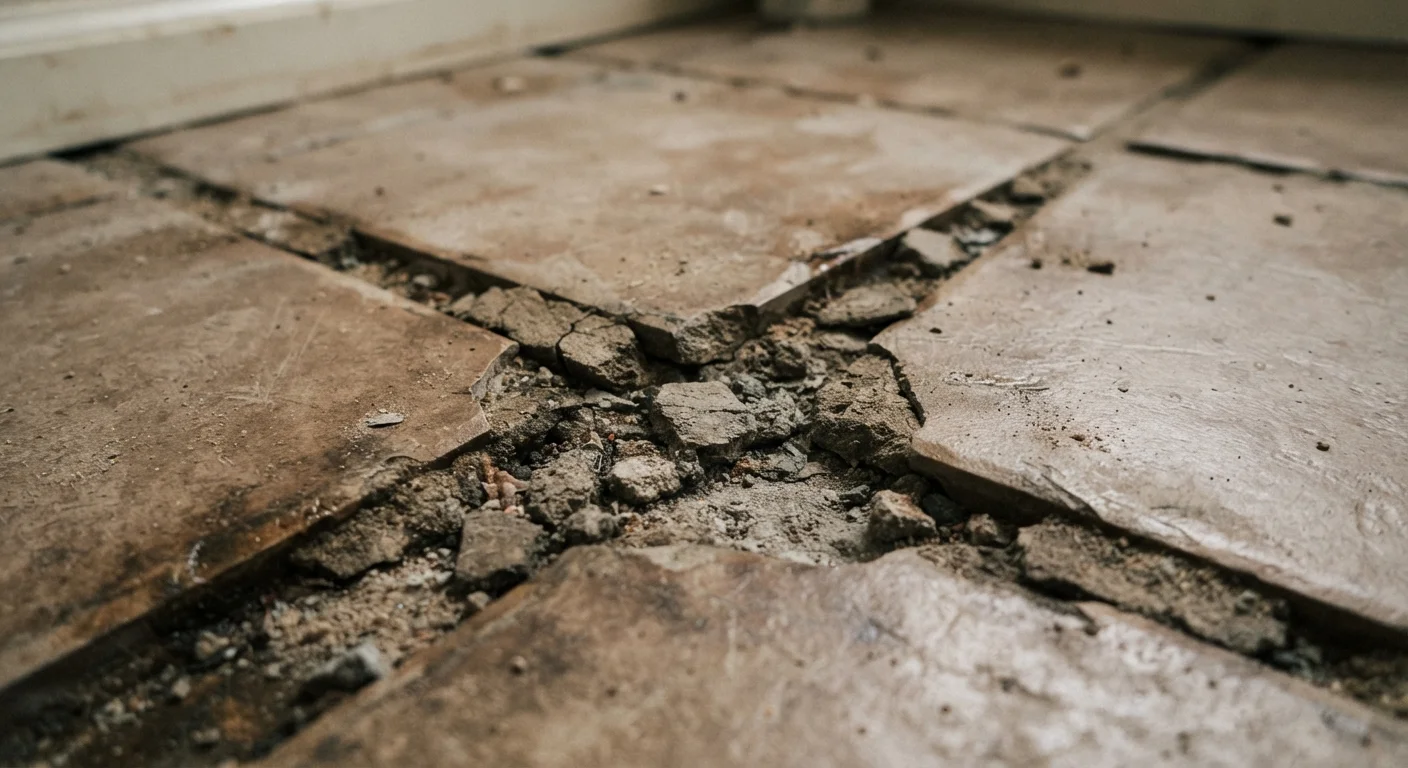
Photo credit: InsightsGrove.com | Discover Joy In Reading
Recurring grout cracks are usually a symptom of a deeper issue. Understand the real causes before you reach for the tube.
Key Takeaways
- Cracking grout is usually a symptom of movement, moisture, or a poor repair - not bad luck.
- Re-grouting over old grout without removing it is one of the most common and costly mistakes.
- Flexible caulk, not grout, belongs in corners and where tile meets a different surface.
- Ignoring cracked grout allows water infiltration that can damage the substrate beneath your tiles.
Why Grout Cracks Keep Coming Back
If you've patched the same grout line twice and it's cracking again, the problem isn't your technique - it's that you're treating the symptom, not the source. Grout is a rigid material. It does its job well when everything around it stays still and dry. When either condition fails, the grout fails too.
The good news: most repeat cracking traces back to a handful of identifiable mistakes. Fix the underlying issue and the repair holds. Skip it and you're back on your knees with a grout float in six months.
As we cover below, small cracks compound quickly - water working its way under cracked grout can degrade the substrate and turn a $20 repair into a full tile replacement job.
Grouting over existing cracked grout instead of removing it first.
Why it happens: Removing old grout feels like unnecessary extra work, especially when the crack looks minor. Many people assume adding fresh material on top will bond and hold.
Using grout instead of caulk in corners and along edges where tile meets another surface.
Why it happens: Grout looks consistent and is already on hand, so people use it everywhere - including joints that are designed to flex slightly with building movement.
Re-grouting without addressing the underlying tile movement or substrate failure.
Why it happens: The crack is visible; the substrate problem isn't. Without pressing on the tiles to check for flex or listening for a hollow sound, the real cause goes undetected.
Applying grout when the surface or ambient conditions are too wet, too cold, or too hot.
Why it happens: People want the job done and don't account for how curing conditions affect the final strength of the repair.
Skipping grout sealer after repair, especially in wet or high-traffic areas.
Why it happens: Sealing feels like an optional finishing step. In practice, unsealed grout in showers or kitchen floors absorbs water and degrades faster, leading to premature cracking.
Getting the Repair Right the First Time
Once you understand the source of the cracking, the repair approach changes significantly. Before buying materials, confirm that the substrate - the layer beneath the tile - is solid and dry. Press firmly on the tiles around the crack; any flex or hollow sound suggests the adhesive bond has failed, which means re-grouting alone won't hold.
Moisture Behind the Tile Is a Serious Risk
If grout cracks appear repeatedly in a shower or tub surround, water may already be reaching the substrate. Once moisture gets behind tiles, it can damage cement board, promote mold growth, and compromise the structural integrity of the installation. If tiles feel loose or walls feel soft when pressed, consult a licensed contractor before attempting a DIY repair - this goes beyond grout.
When it comes to materials, not every gap needs grout. Matching the right filler to the right joint matters more than most guides admit. Corners, edges, and transitions between tile and tub or tile and floor are movement zones - sanded caulk that matches your grout color is the correct material there, not grout.
For wall repairs that involve adjacent surfaces, the principles in patching and sealing wall damage apply here too: prep thoroughly, use the right product for the surface, and give each layer adequate cure time before the next. If you're dealing with a damaged tile as well as cracked grout, understanding what tile repair actually involves before you start will save considerable wasted effort.
~70%
Of grout failures linked to substrate or installation issues
Industry tile installation guidance consistently attributes the majority of grout and tile failures to problems beneath the surface rather than the grout product itself.
48-72 hrs
Minimum cure time before sealing most cement grouts
Most cement-based grout manufacturers specify this window before applying sealer; cutting cure time short is a leading cause of sealer failure and early re-cracking.
The most reliable repairs start with full removal of the old grout using a manual grout saw or oscillating tool set to a shallow depth, a clean dry joint, and the correct product applied in the right conditions. There are no shortcuts that hold long-term.

Author
Home & Living Editorial Team
Home & Living Editorial Team is the collective byline for our editorial team and contributor network. Articles published under this byline or an editorial pen name are researched, written, and reviewed according to our editorial standards for clarity, consistency, and independence before publication.
View all articles →