
Flatpack Furniture Assembly: Where People Go Wrong
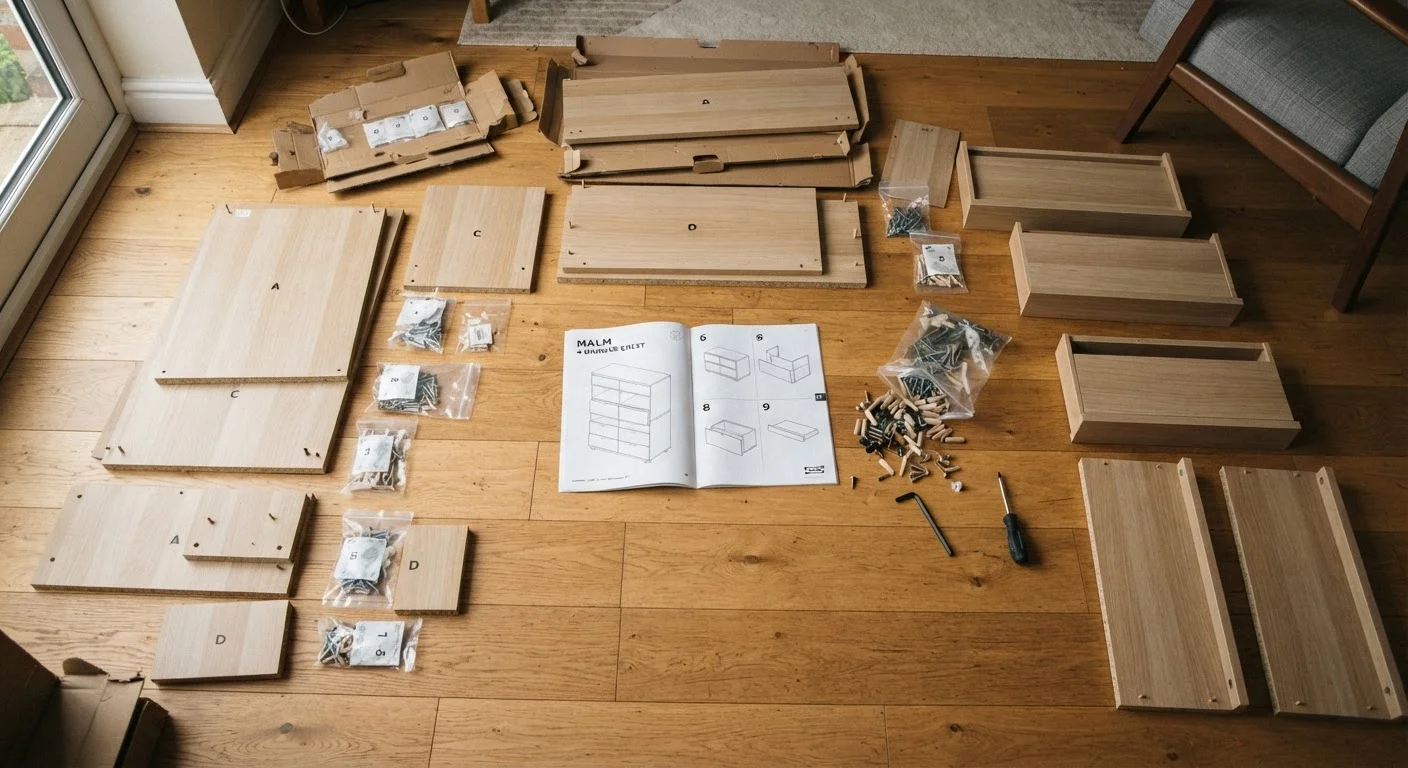
Photo credit: InsightsGrove.com | Discover Joy In Reading
In this article
Most flatpack failures happen in the first five minutes. Here's what to watch for before you open the first bag of hardware.
Key Takeaways
- Most flatpack mistakes happen before assembly begins - sorting parts and reading instructions fully saves significant rework.
- Overtightening fasteners is among the most damaging errors; particleboard strips easily and rarely recovers.
- Checking finished dimensions against your room layout before purchasing prevents costly returns and wasted effort.
- Skipping the final structural check leaves furniture unstable, which becomes a safety concern over time.
Why Flatpack Failures Are Almost Always Preventable
Flatpack furniture represents one of the more cost-effective ways to furnish a home - but the savings disappear fast when a stripped joint or misread diagram forces a replacement purchase. The good news: the overwhelming majority of assembly failures trace back to a small number of repeatable mistakes that happen in the first few minutes of a build.
Understanding what each furniture type is actually designed to do before you buy is the first layer of protection. The second is knowing exactly where the assembly process breaks down - and why.
68%
Flatpack owners who report assembly errors
A consumer survey by the British furniture retailer association found roughly two-thirds of self-assemblers reported at least one significant assembly mistake on their most recent flatpack purchase.
1 in 3
Builds requiring partial disassembly
Industry estimates suggest approximately one-third of home flatpack builds require the assembler to partially dismantle and restart at least one section due to sequencing errors.
The Six Mistakes That Derail Most Builds
These errors appear across every skill level, from first-time assemblers to people who've built dozens of flatpack pieces. Each one is avoidable with a small change in approach.
Skipping a full read-through of the instructions before touching any parts.
Why it happens: The urge to start building immediately is almost universal. Most people treat the manual as a backup rather than a prerequisite.
Failing to inventory and sort all parts before assembly begins.
Why it happens: Hardware bags look similar, and panel labels are often printed in small type on concealed edges. People assume everything is there and discover missing pieces mid-build.
Overtightening cam locks and screws, stripping the fastener holes.
Why it happens: People apply the same force they would use on solid wood, not accounting for how much softer particleboard is.
Assembling furniture in the wrong room or orientation, then needing to disassemble and move it.
Why it happens: Builders focus on the build, not the logistics. A finished bookcase or wardrobe often cannot pass through a doorway or around a stairwell corner.
Ignoring panel orientation and installing components upside down or reversed.
Why it happens: Panels often look identical from both sides. Pre-drilled holes and cam lock recesses are the only distinguishing features, and they're easy to miss.
Skipping the final squaring and stability check once assembly is complete.
Why it happens: After a long build, people are tired and assume a finished-looking piece is a structurally sound one.
Stripped Fasteners Cannot Be Easily Reversed
Particleboard and MDF - the materials used in most flatpack furniture - have very limited tolerance for over-tightened or re-driven screws. Once a cam lock or screw hole strips, the joint loses most of its holding strength. Avoid power tools on cam locks and stop tightening the moment you feel firm resistance.
One practical note on workspace: avoid assembling on bare hard flooring without a protective layer underneath panels. Even minor abrasion on a lacquered surface shows permanently.
Don't Assume the Floor Is Your Assembly Surface
Assembling directly on hard tile or concrete can scratch panels and cause components to sit unevenly, leading to misaligned joints. Use a folded blanket, moving pad, or large piece of cardboard as a buffer. This is especially important for lacquered or laminated surfaces that show abrasion marks permanently.
Setting Yourself Up Before the First Piece Is Joined
The single highest-return investment in any flatpack build is the ten minutes spent before assembly starts. Clear a floor area at least 50% larger than the finished footprint of the piece. Gather your tools - typically a rubber mallet, a Phillips-head screwdriver, and the included Allen key - and add a tape measure and painter's tape to that list.
If you're furnishing a small room, it's worth running a full layout check first. The room-by-room audit approach can reveal clearance issues and traffic flow problems before any furniture arrives, not after. Similarly, matching furniture scale to room dimensions is a step that flatpack buyers frequently skip - and frequently regret.
Once assembly is complete and the unit is stable, load it gradually rather than all at once. Particleboard shelves can handle stated weight limits under gradual load, but sudden concentrated weight - stacking heavy books all at once - can stress cam lock joints before they've fully settled.
This article provides general home assembly guidance. Always follow the manufacturer's specific instructions included with your product, and consult a professional if structural concerns arise.

Author
Home & Living Editorial Team
Home & Living Editorial Team is the collective byline for our editorial team and contributor network. Articles published under this byline or an editorial pen name are researched, written, and reviewed according to our editorial standards for clarity, consistency, and independence before publication.
View all articles →