
Weatherstripping 101: Stopping Draughts Without Calling a Tradesperson
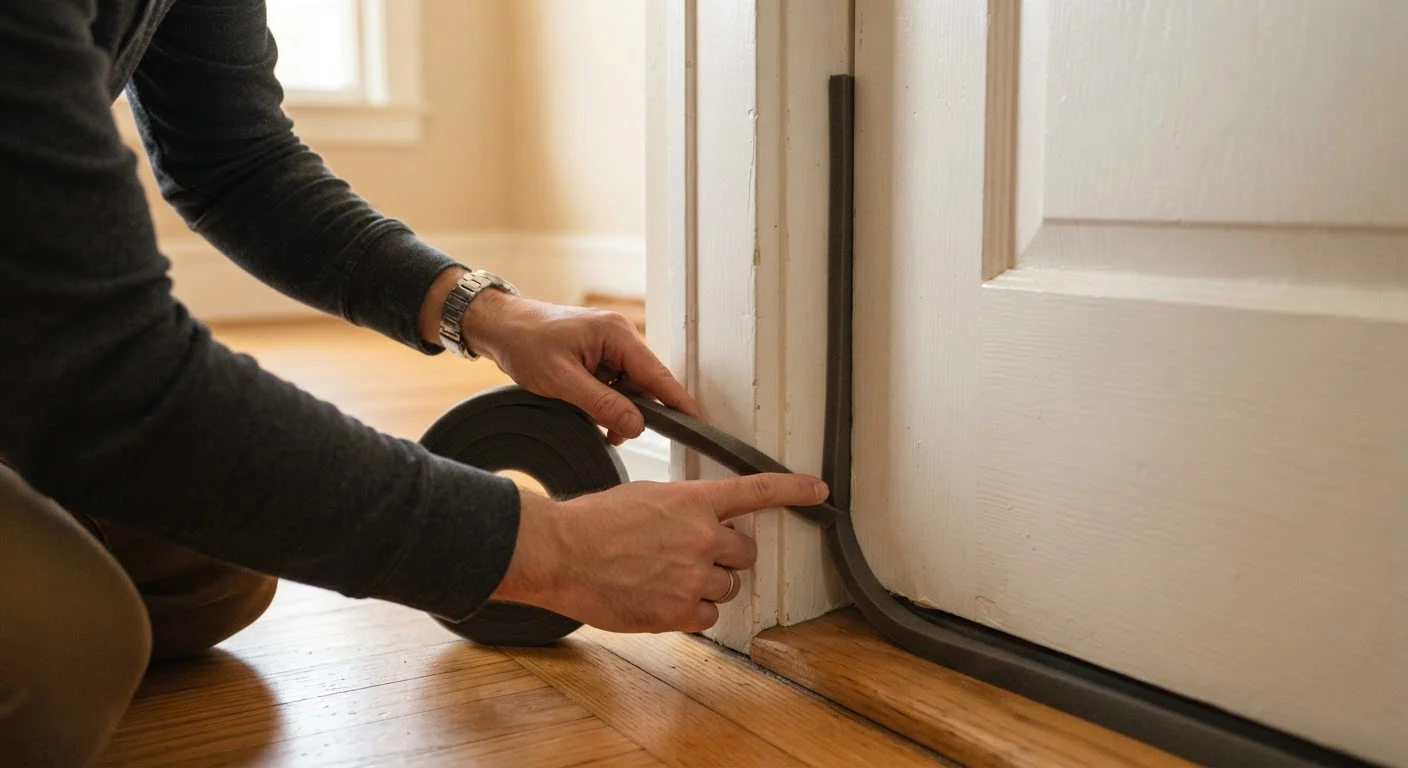
Photo credit: InsightsGrove.com | Discover Joy In Reading
In this article
Draughty doors and windows waste energy and money. Learn how weatherstripping works, which type suits each gap, and how to fit it yourself.
Key Takeaways
- Most draught problems can be fixed with weatherstripping materials costing under $20 per door or window.
- Different gap types require different weatherstripping - choosing the right type is half the job.
- Surface preparation is critical; new weatherstripping won't adhere properly to dirty or painted surfaces.
- Door sweeps handle the bottom gap that foam tape cannot seal effectively.
- Weatherstripping is a renter-friendly repair that usually requires no permanent modifications.
Why Draughts Cost More Than They Feel
A thin gap along a door frame or window sash does more than let in cold air - it forces your heating or cooling system to compensate continuously. The US Department of Energy has noted that air leaks through gaps, cracks, and unsealed openings account for a significant share of home heating and cooling losses in typical residences. Weatherstripping is one of the lowest-cost interventions available, and it's something most renters and homeowners can handle in an afternoon.
Before buying anything, it helps to understand what you're sealing and why material choice matters. Small gaps compound over time - what feels like a minor chill in October can translate to noticeably higher utility bills through winter.
Check Windows the Same Way
The same foam tape and V-strip techniques apply to double-hung and sliding windows. Focus on the sash edges where the movable part meets the frame - that's where most window air leaks occur. Self-adhesive foam tape works well here because windows see less friction than doors.
Choosing the Right Weatherstripping for Each Gap
Not all weatherstripping is the same, and using the wrong type is the most common DIY mistake. Here's a plain breakdown:
- Self-adhesive foam tape: Best for irregular gaps on window sashes and door stops (the strip the door closes against). It compresses to fill uneven surfaces but wears faster than other types - expect to replace it every one to three years depending on use frequency.
- V-strip (tension seal): A folded plastic or metal strip that springs open to fill a gap. Excellent for the sides of door frames and double-hung windows. More durable than foam and largely invisible once installed.
- Door sweeps: A strip of rubber, vinyl, or brush material mounted to the door's bottom edge. Required for the gap between door and threshold, which foam tape cannot reach effectively.
- Tubular rubber or vinyl gasket: A hollow tube that compresses when the door or window closes. Used on door stops for a durable seal, and a good upgrade over foam if the door gets heavy daily use.
For a standard exterior door, you'll typically need V-strip or tubular gasket for the sides and top, and a door sweep for the bottom. For windows, foam tape or V-strip covers most situations. See our guide on budget home repair principles for a framework on prioritising which gaps to tackle first.
Tape measure
Measure door and window frame lengths accurately before purchasing materials.
Utility knife or scissors
Cut foam tape, V-strip, or tubular gasket to precise lengths.
Putty knife or plastic scraper
Remove old weatherstripping and adhesive residue without damaging the frame.
Rubbing alcohol and clean cloth
Clean frame surfaces so new adhesive bonds correctly.
Screwdriver (manual or electric)
Mount screw-in door sweeps to the bottom of the door.
Drill with small bit
Pre-drill pilot holes for door sweep screws to prevent wood splitting.
Incense stick or thin tissue
Detect air movement to locate draught sources before and after sealing.
Step-by-Step: Fitting Weatherstripping on a Door
Work through these steps in order. Rushing the prep stage is the main reason weatherstripping fails prematurely.
Locate and measure every gap
Close the door and hold a lit incense stick or a thin piece of tissue near the frame edges, top, and bottom threshold. Movement indicates a leak. Mark each problem area with painter's tape. Measure each section of the frame with a tape measure and note the lengths - you'll buy material based on these measurements, plus about 10% extra for waste.
Remove old weatherstripping completely
Peel away any existing foam tape, gasket, or V-strip. Use a putty knife or plastic scraper to lift adhesive remnants without gouging the wood. Old adhesive that stays behind will prevent the new material from bonding correctly.
Clean and dry the surface
Wipe the frame surface with a cloth dampened with rubbing alcohol or a mild household cleaner. This removes dust, oil, and adhesive residue. Allow the surface to dry fully - at least 10 to 15 minutes - before applying anything. Most adhesive-backed products require a clean, dry, room-temperature surface to bond correctly.
Cut and apply V-strip or foam tape to frame sides and top
For V-strip: cut a length to fit each side of the door stop (the inner lip the door presses against when closed). Peel the backing and press firmly into the channel between the stop and the frame, with the open side of the V facing outward so the door compresses it when shut. For foam tape: measure, cut, peel backing, and press firmly onto the door stop face. Apply consistent hand pressure along the full length for good adhesion.
Install a door sweep on the bottom edge
Most door sweeps screw into the interior face of the door's bottom edge. Close the door, hold the sweep against the bottom so the rubber or brush element just touches the threshold, and mark the screw holes with a pencil. Open the door, pre-drill pilot holes to avoid splitting the wood, then screw the sweep into place. Re-test by closing the door - you should feel resistance from the sweep contacting the threshold, with no visible light underneath.
Test the seal and adjust
Close the door and repeat the tissue or incense test from Step 1. Check all four edges. If you still feel movement at a specific point, the strip may need firmer seating or a second layer of foam tape at that location. For V-strip, you can gently pull the two sides of the V further apart to increase spring tension if the seal feels weak.
Avoid Sealing Intentional Ventilation
Some gaps in older homes are deliberate - particularly around gas appliances, fireplaces, or in rooms that need fresh air for combustion safety. If you're unsure whether a gap is incidental or intentional, consult a qualified HVAC technician before sealing it. Over-tightening a home's envelope without adequate ventilation can affect indoor air quality.
Keeping It in Good Shape
Weatherstripping is a maintenance item, not a one-time fix. Foam tape typically lasts one to three years; V-strip and tubular gaskets can last five to ten years with normal use. Check all sealed doors and windows at the start of each heating season - look for compression failure (foam that no longer springs back), peeling adhesive, or visible light gaps when the door is closed.
If you're tackling other surface repairs at the same time, the techniques in our guide to fixing wall damage pair well with a weatherstripping project - both require similar prep work and cost very little in materials.
Renters should note: self-adhesive weatherstripping is generally considered a non-damaging, removable repair. If in doubt, check your lease or ask your landlord before starting. Many landlords will approve - or even cover the cost of - draught-proofing materials since it benefits the property.

Author
Home & Living Editorial Team
Home & Living Editorial Team is the collective byline for our editorial team and contributor network. Articles published under this byline or an editorial pen name are researched, written, and reviewed according to our editorial standards for clarity, consistency, and independence before publication.
View all articles →